
Grilling Beef Ribs Recipe
Grilling beef ribs on a gas grill is an especially user-friendly way to prepare a succulent and delicious meal.
Servings: 4
Calories: 187kcal
Equipment
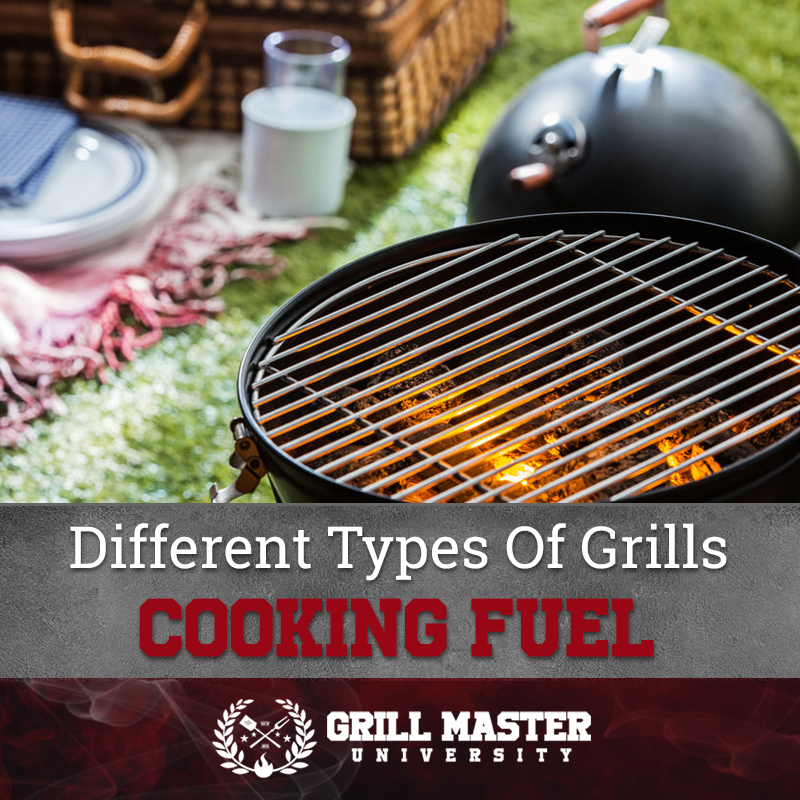
- Gas grill with 2 or more burners
- Tongs
- Wood
- Oven thermometer
- Metal drip pan
- Aluminum foil
- Basting brush or mopping tool
Ingredients
- 1 to 3 Racks of ribs – 7 or 8 ribs per rack
- Apple juice
- Flavored wood chips
Rub
- 1/4 cup dark brown sugar
- 1/4 cup chili powder
- 3 Tablespoons black pepper, coarsely ground
- 1 Tablespoon garlic powder
- 1 teaspoon cayenne pepper
Basting Sauce
- 1/2 cup water
- 1/2 cup apple cider vinegar
- 1/2 cup Worcestershire sauce
- 1/4 cup olive
- 1 Tablespoon garlic powder
- 1 Tablespoon chili powder
- 1 teaspoon cayenne
Finishing Sauce (Optional)
- 1/2 pound butter
- 1/2 cup apple cider vinegar or distilled white vinegar
- 3 Tablespoons of lemon juice -about one lemon
- 1 1/2 Tablespoons Worcestershire sauce
- 1 Tablespoon honey
- 2 teaspoons salt
- 1 teaspoon black pepper
Instructions
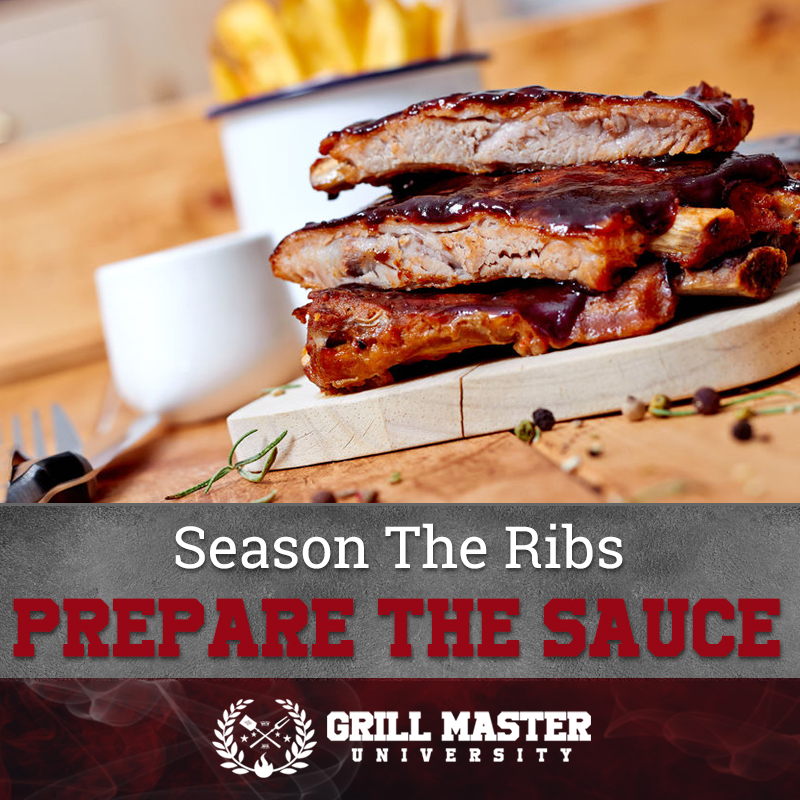
- Combine rub ingredients until well-blended.
- You can store the mixture in an air-tight container in a cool dry location for future use.
- Mix the basting sauce ingredients well. Notice how your basting sauce complements the ingredients in your rub.
- Soak your chosen flavored wood chips for 15 minutes, then drain.
- Bundling the wood is what will cause smoldering to produce that coveted smoke.
- You can accomplish that with two methods.
- A smokebox is simplest. You can also create a smoke bomb without too much effort.
- Clean the beef ribs by trimming excess fat and meat around the edges.
- Do not remove any of the fat that would sit between the ribs if they were together.
- You need that to assist with keeping your beef ribs succulent.
- Remove any of the tough thin membranes you encounter.
- Run the trimmed ribs under water and pat dry.
- Lightly coat your ribs but do not overseason.
- Be prepared to move your ribs to the grill within 10 to 20 minutes of applying the spices.
- Any longer than an hour and any rubs will begin to change the texture of the meat.
- Some accept this for additional flavoring.
- Place your metal drip pan under the area rack where you will cook the ribs.
- This will be over the unused burner for indirect heating.
- Pour a shallow layer of water in the pan.
- You can also use apple cider for additional flavoring.
- Preheat your grill to the desired setting.
- For beef ribs, you want your grill set at 200 degrees Fahrenheit.
- Place your grill thermometer so you can more readily keep on top of what is happening inside the grill.
- You are going to use an indirect grilling method. If you only have two burners, only turn one on.
- When you have three burners, the most efficient way to work them is to leave the center off and turn the other two on.
- Place your smoke bomb or smoker box over direct heat right on the cooking grate.
- Allow the grill to come up to your desired temperature.
- Place your beef ribs bone-side down on the grill opposite to the heat source if you have two burners and in the center if you have three.
- Allow ribs to cook undisturbed with the lid closed for 30 minutes.
- This keeps both heat and smoke inside the grill.
- Adjust your grill so the temperature stays between 200 and 225 degrees Fahrenheit.
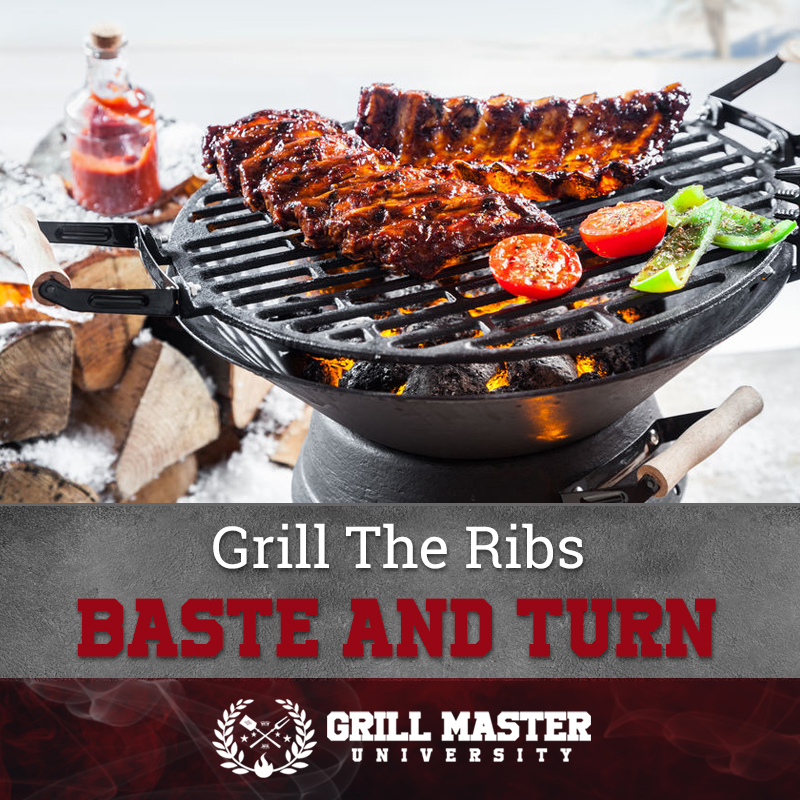
- Baste or “mop” your ribs every half hour.
- This is your opportunity to also quickly turn them to ensure they are cooking evenly.
- An alternative to basting: How to Cook Ribs on Gas Grill in Foil
- Whether you use apple juice or cider or butter and raw sugar, this step will alleviate any doubts about flavor, juiciness, or tenderness.
- Cook ribs for 30 minutes at 300 degrees Fahrenheit.
- Remove your ribs from the grill and place them on a sheet of aluminum foil.
- Tip-up the edges of the foil to create a makeshift dish. Pour apple juice over the ribs and wrap tightly in the aluminum foil.
- Place the wrapped ribs back on the grill and close the lid.
- Increase the heat to 375 degrees Fahrenheit so the apple juice boils, tenderizing the ribs in the process.
- Unwrap the ribs after 30 minutes of cooking, placing them back on the grill.
- Turn your heat back down to 300 degrees Fahrenheit.
- This greatly speeds up your cooking process, so look for your ribs to be ready in another 15 to 30 minutes.
- In this low and slow method, your beef ribs will take six to eight hours to cook.
- You may see the fleshy part start to loosen from the bone as they reach the end.
- Use your tongs to see how tender they are.
- You can also cut into the meat to make sure there is no pink remaining.
- If your ribs are in a rack, you can twist the center rib. If it comes away from the meat easily, your ribs are ready.
- Ribs are not the most practical cuts into which to try to insert a probe.
- Some areas are pretty thin. Temperature measurements near the bone do not tell you about meat in the center of the rib.
- However, where meat thermometer placement may be tricky, toothpicks work like a charm.
- When ribs are ready, a toothpick should slide easily in and out of the flesh between the bones.
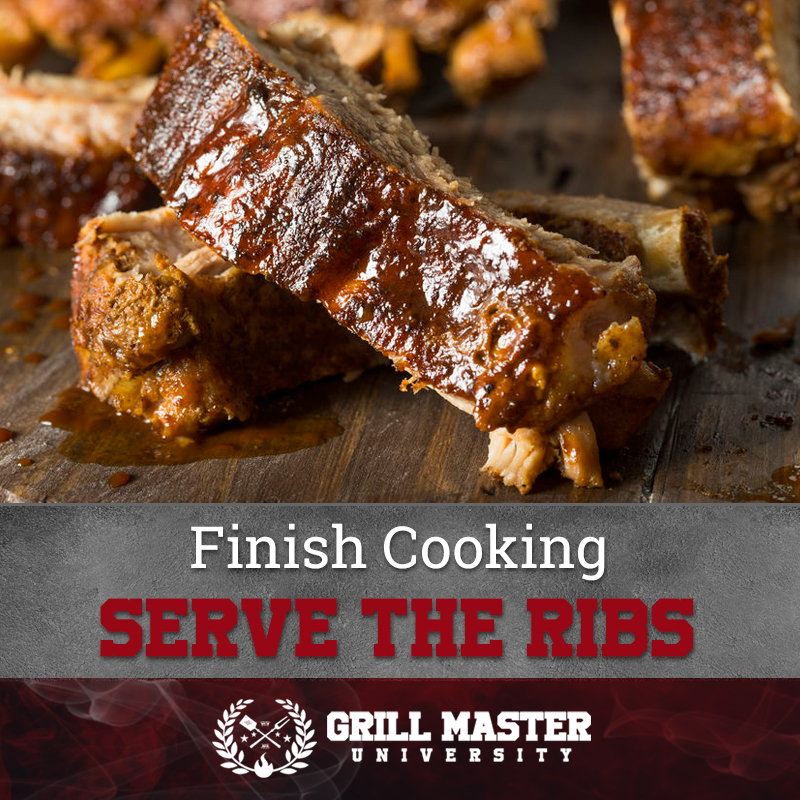
- If your rack of ribs is till intact, allow them to rest under tented aluminum foil for 15 to 20 minutes before slicing.
Nutrition
Serving: 85g | Calories: 187kcal