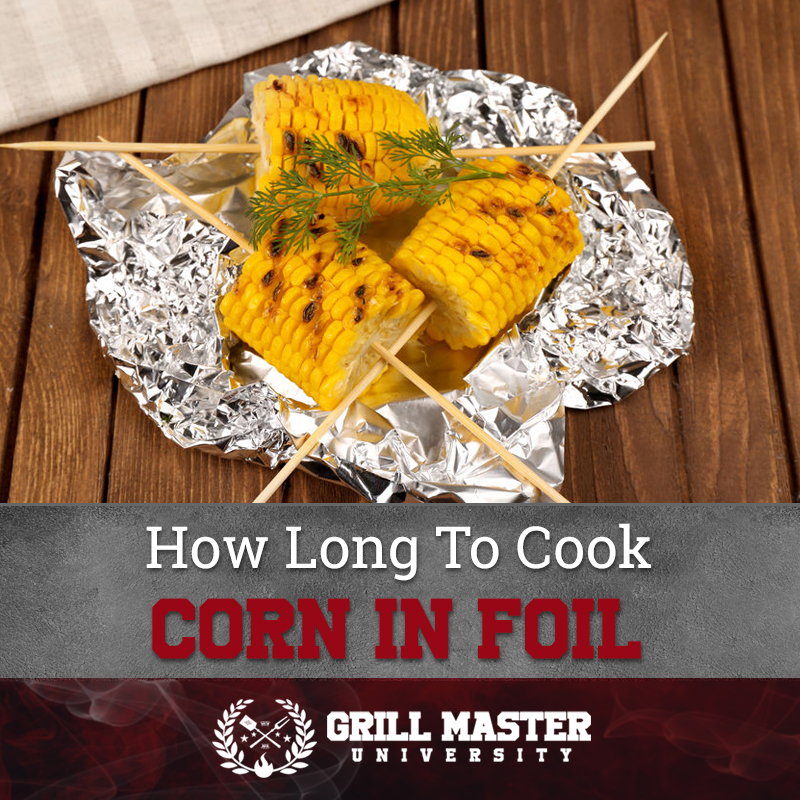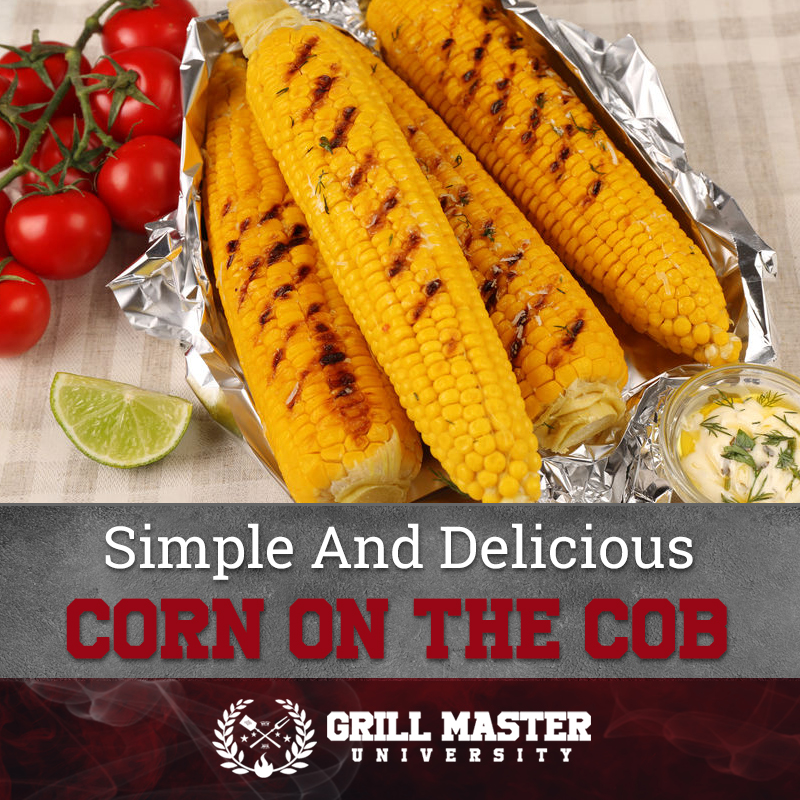
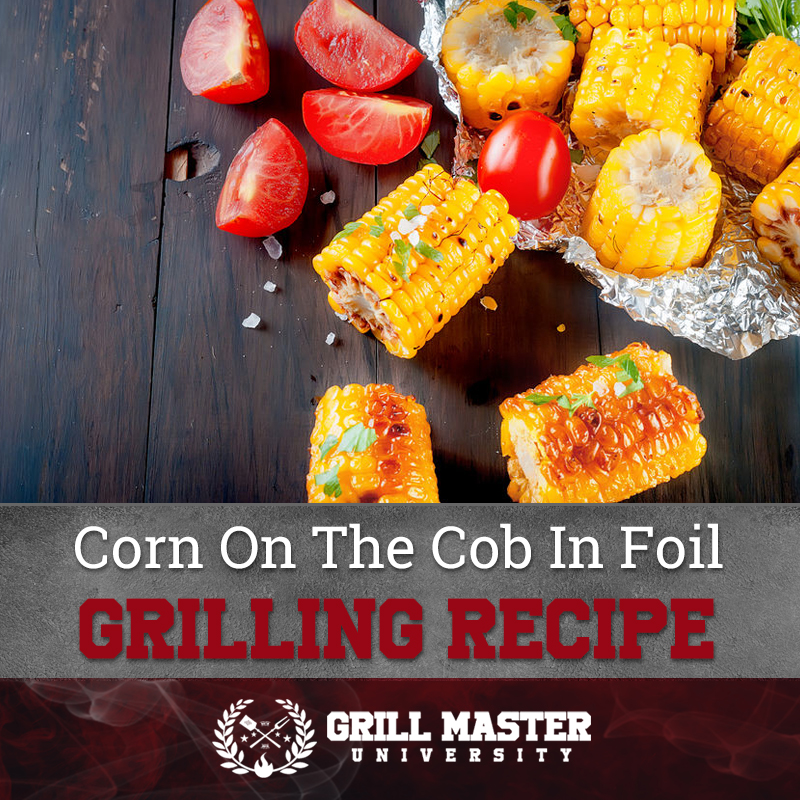

Grilled Corn on the Cob in Foil Recipe
Grilling the corn in the husk can also cause a charred mess, which can make a more difficult cleanup. However, grilling the corn in foil helps maintain maximum seasoningand avoids a burned, stuck-on mess for easy cleanup. It also helps ensure tender, juicy kernels every time.
Servings: 4
Calories: 150kcal
Ingredients
- 6 ears of corn
- Butter
- Salt
- Pepper
- Fresh garlic or garlic powder
- Aluminum foil
Instructions
- Heat the grill between medium-high and medium heat.
- Remove the husks as well as the silk from the corn.
- Next, enclose the corn separately in foil, or enclose the corn using two large pieces of foil.
- However, be sure to place the corn on the shiniest side of the foil, which will enable better heat conduction.
- Brush the corn with butter and then add a dash of salt.
- Add some garlic powder or a few fresh garlic cloves, and then secure the foil.
- If you’d like, you can also add 3 to 4 cubes of ice to the foil for extra steaming power.
- However, be sure to secure the foil tight to prevent the water from leaking out.
- You should also be careful when removing the package from the fire as any remaining water in the package will have heated to a boil.
- Or, you can prepare some garlic butter to place on the corn after it has fully cooked.
- To do so, add 4 tablespoons of butter, 1 garlic clove, pressed, a dash of salt, 1 teaspoon of fresh lemon juice, and 1 teaspoon of fresh parsley into a bowl.
- Keep the garlic butter at room temperature, and then once the corn is done, brush a little or a lot of the butter onto the corn just before serving to add flavor.
- Place the corn on the grill, and allow it to cook for 20 minutes or until it is done, turning it about every two to three minutes to prevent it from becoming burned or scorched.
Nutrition
Serving: 103g | Calories: 150kcal